We are Manufacturer, Supplier, Exporter of Sun-Temp-UI, Handheld universal temperature indicator, Portable Temperature Indicator and our set up is situated in Pune, Maharashtra, India.
| RTD | Range in °C (@Resolution 0.1°C) | Accuracy |
| PT100 | -200 to 600 | 0.1% (3 wire) +2 Digit |
| Thermocouple | Range in °C (@Resolution 1°C) | Accuracy |
| TYPE-B | 300 to 1800 | +0.25% +2 Digit |
| TYPE-E | -200 to 1000 | |
| TYPE-J | -200 to 1200 | |
| TYPE-K | -200 to 1350 | |
| TYPE-N | -200 to 1300 | |
| TYPE-R | -50 to 1750 | |
| TYPE-S | -50 to 1750 | |
| TYPE-T | -200 to 390 |
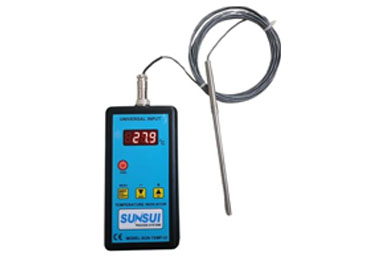
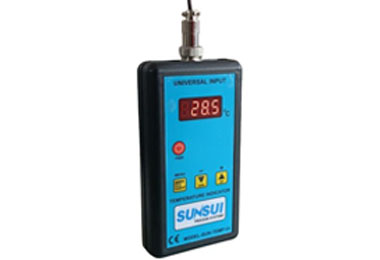
Sunsui's Handheld universal temperature indicator which receives the input from the thermocouples and RTD (PT100) sensors and show the temperature reading on the Red LED 7 segment display. The temperature range is depended upon the type of sensor connected to indicator. Sunsui also provides the different types of probes which are used to measure the temperature in different applications. This indicator works on 2 X AA batteries.
Basic Display Status : When powered on, display shows the firmware version of the unit like "V1.01". After showing the version, displays the actual temperature. IF the sensor is not connected to the indicator, then display shows the "OPEN" also if the actual value is overrun by the measure range of sensor which depend on the sensor type it may vary from the -200 to 1800°C display "OPEN".
Operation Description : Basically, there are four function keys which makes it easy to power ON and OFF as well as to set the parameter setting. The Keys are as shown below.


Press Power Key (PWR) for more than one second to power up the instrument. After power ON the display shows the firmware version like "V1.01" and then displays the actual temperature. Same way to switch off the unit press the power key for more than one second. If the instrument not in use, then it will automatically switch off.
Parameter Setting : Press the "MENU" key once to enter into the setting mode, will ask for password to enter. Set the password "92" by pressing the "UP" key and press "ENTER" to enter into the setting mode. IF entered password is incorrect then display will show "ERR" and back in actual temperature showing mode. In setting mode first, it will ask for "INPUT" (Select sensor type). By pressing "UP" and "DOWN" key user can select the desired sensor type. After selecting the sensor, press "ENTER" key to save the selected sensor type and go in next option. Next option is "SCB". SCB is used to make input offset to compensate the error produced by the sensor. The range of offset is -12.5 to +12.5. By pressing "UP" and "DOWN" key user can set the offset. After setting offset press "ENTER" key to go in the next option which is "FILT". This option is used to set the response time of the sensor. The range of the time setting is 1 to 10. Press the "ENTER" key after selecting the filter and now user can measure the temperature by connecting the selected sensor in the instrument.
| Code | Name | Description | Setting Range |
| inp | Input Type | RTD, Type-B, E, J, K, N, R, S, T | - |
| scb | Input Offset | Scb is used to make input offset to compensate the error produced by the sensor | +12.50°C |
| filt | Input Filter | Moving average input filter 1=second | 1-10 |